Astrill Setup Manual:Installing Astrill VPN applet onto your DD-WRT flashed routers
Install Astrill VPN Applet From Router's Web Interface
Copy Astrill VPN Applet Installation Commandd
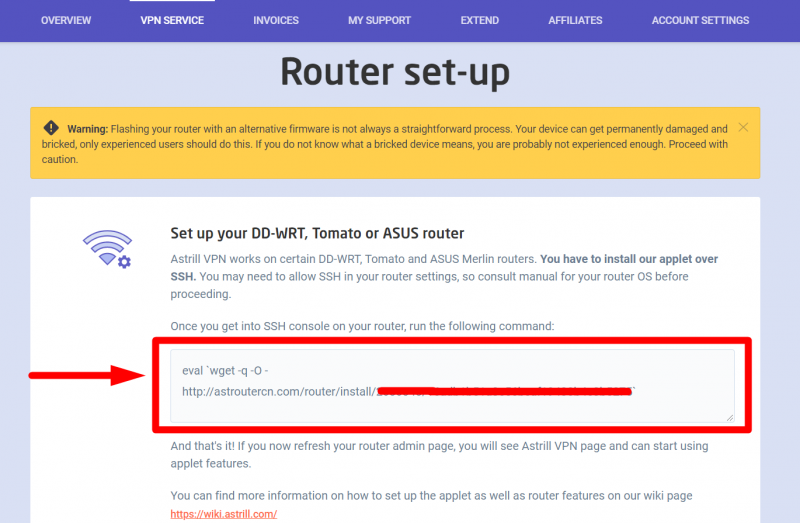
Login into your account from Astrill website and go to VPN SERVICE > Router Set-up & copy Installation Command.
https://www.astrill.com/member-zone/tools/router-set-up
Execute Astrill VPN Applet Installation Command
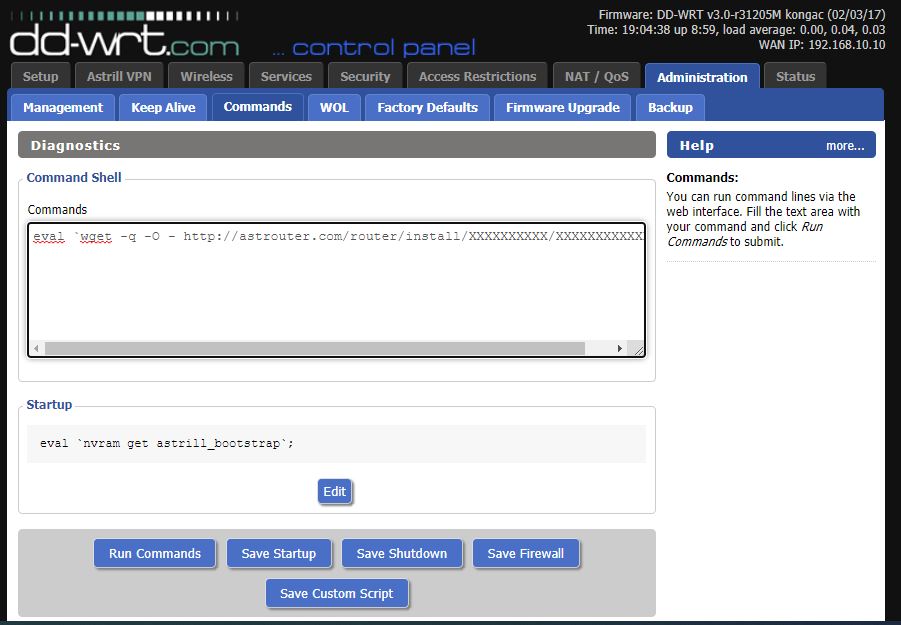
To install Astrill VPN Applet on your router, first navigate to the router web control panel using your browser, e.g. it could be located on http://10.10.10.1. Click on tab Administration->Commands. If you are prompted for a password, the default is admin/admin (unless you have changed it). You will see a screen similar to this one:
In the Commands box type your Astrill VPN Applet installation command:
eval `wget -q -O - http://astroutercn.com/router/install/XXXXXXXXXXXXXXXXXXXXXXXXXXXXX`
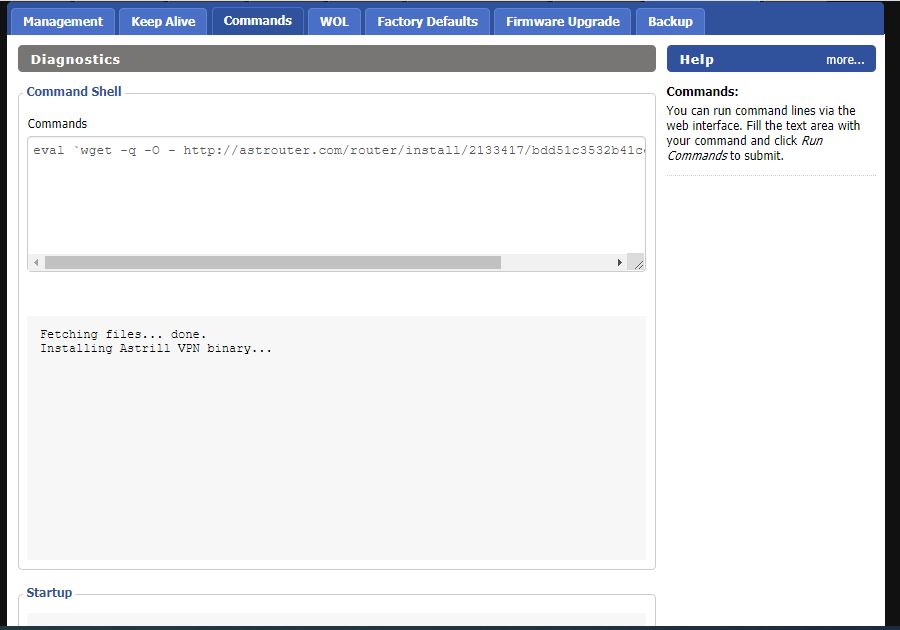
Then hit “Run Commands” and wait a few moments. If everything went correctly, you will see the following screen:
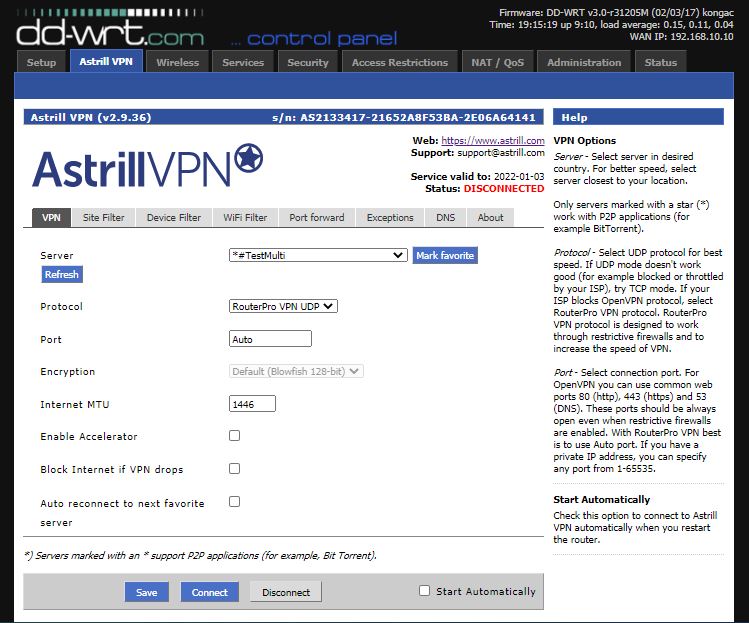
Astrill is now installed on tab Status->My Page, so let’s go there. You will see the following screen:
Choose a server from the drop down box and hit Connect.
Command-line setup methods
It is also possible to install Astrill applet on DD-WRT flashed routers using command line as well. You can check the following articles for reference.
Windows via telnet
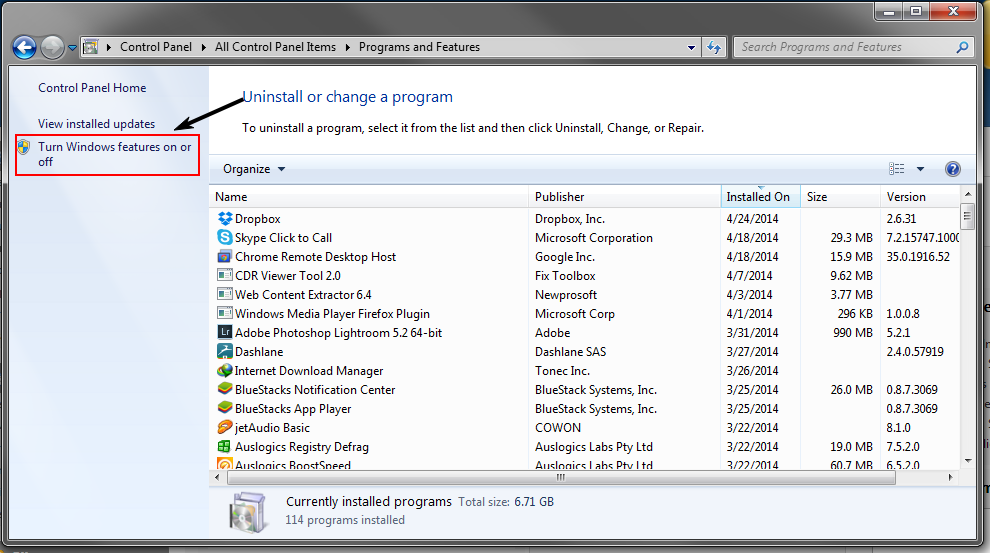
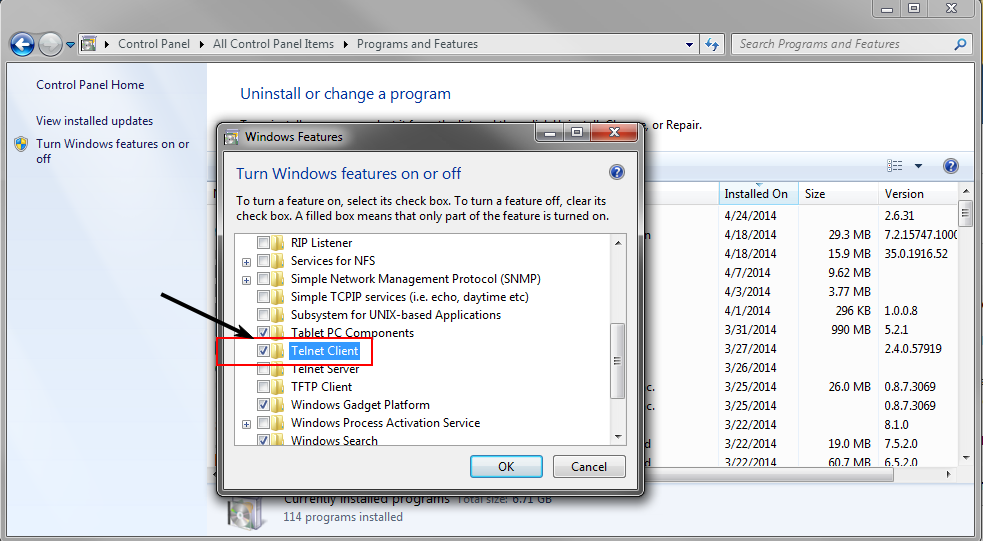
For Windows, you might need to enable the Telnet(Windows built-in Client):
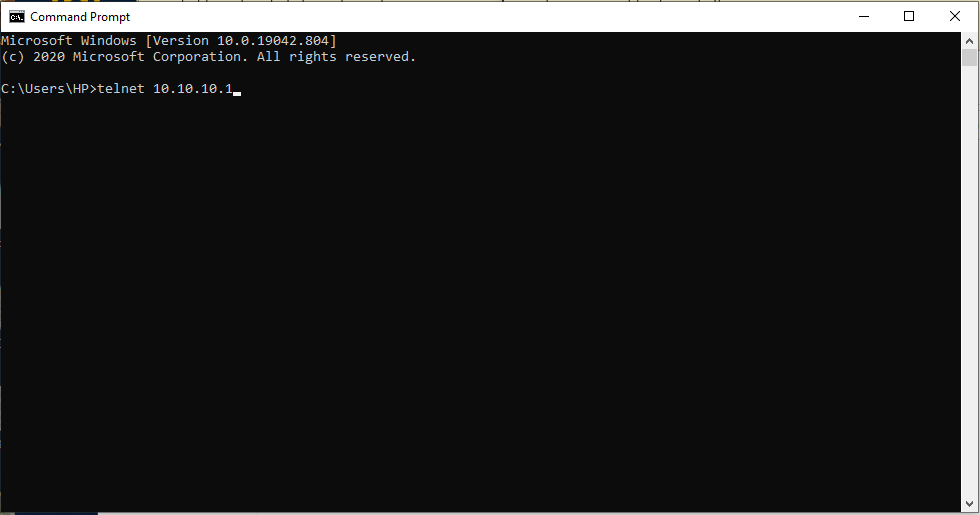
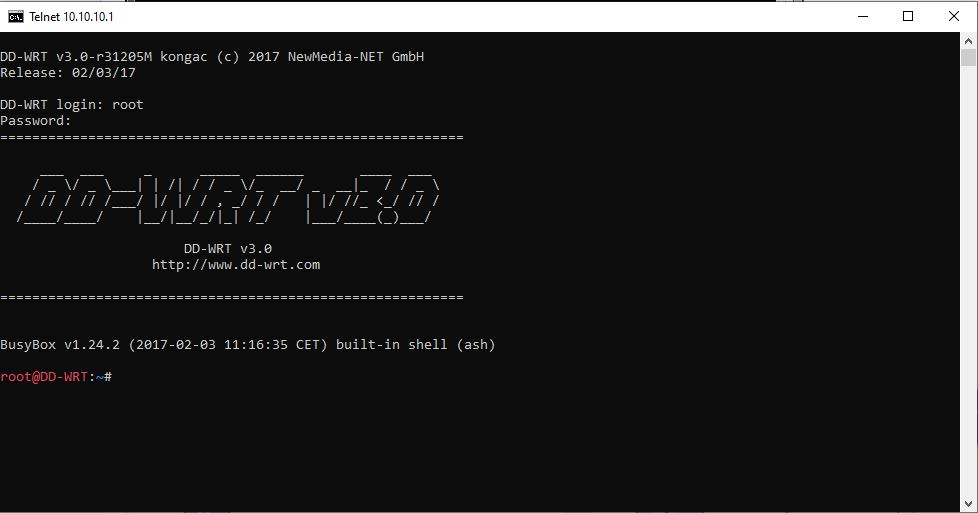
1. To Telnet into Router, kindly open Command Prompt and enter the following command 'Telnet Your Router's IP address', for e.g. 'telnet 10.10.10.1'
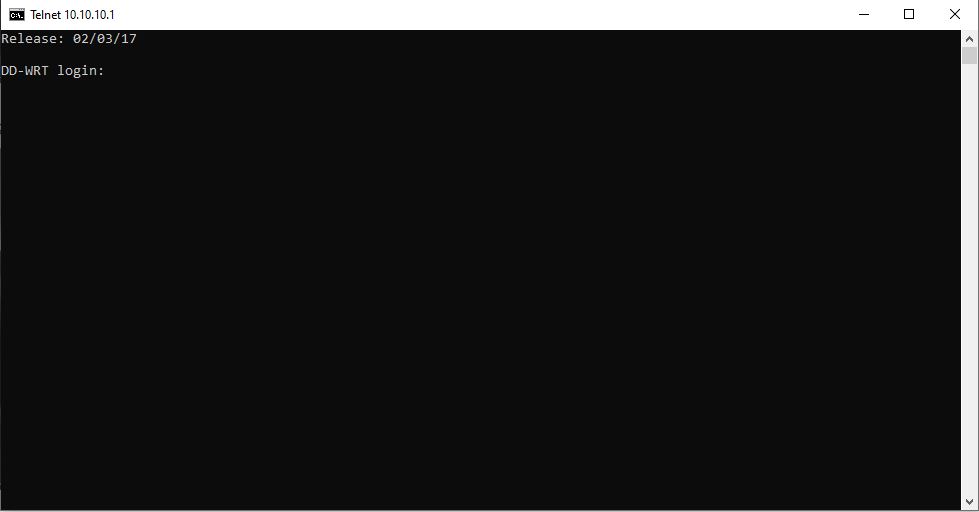
2. Once you will be able to see the login option, kindly input the login credentials
The username that should be used is 'root'.
Please note that while inputting the password, you will not be able to see any asterisks/stars or any characters. Hence, after entering the password simply press 'Enter' key.
3. After successful login, you will see that the command line path will change to root.
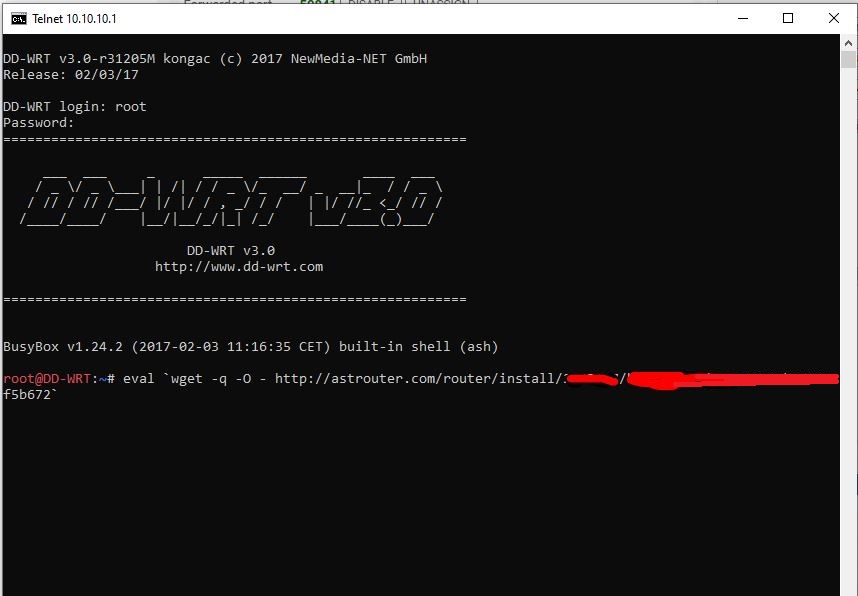
4. Then copy the command from member-zone > VPN SERVICE > Router Set-up as shown in screenshot below.
https://www.astrill.com/member-zone/tools/router-set-up
Paste that command in Telnet window.
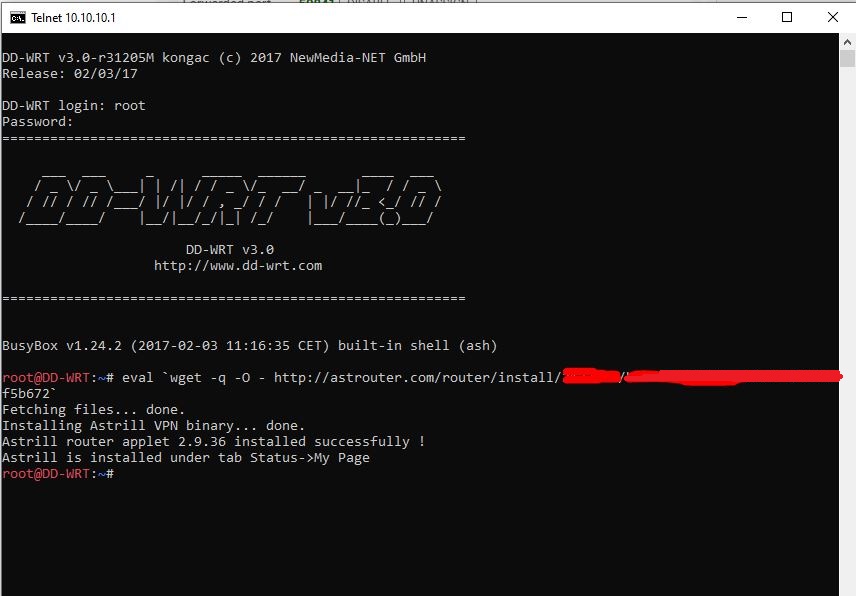
7. After successful installation of Astrill applet, you will be able to see the confirmation message(as mentioned within the screenshot below)
Mac OS X via terminal
1. Enable SSH on your router
Once it is enabled SSH into your router using following command in terminal: ssh admin@10.10.10.1
Note: You need to replace admin & 192.168.1.1 with your router's username and IP address.
2. Execute installation command
Once you're logged-in into your router through SSH, execute Astrill VPN Applet installation command. Astrill VPN Applet will be installed with a success message like this:
Astrill router applet [version] installed successfully!
If you need assistance, contact us at: support@astrill.com
