Astrill Setup Manual:Install Astrill APK on Android ADB Method
STEP 1: Enable Developer Options & USB Debugging
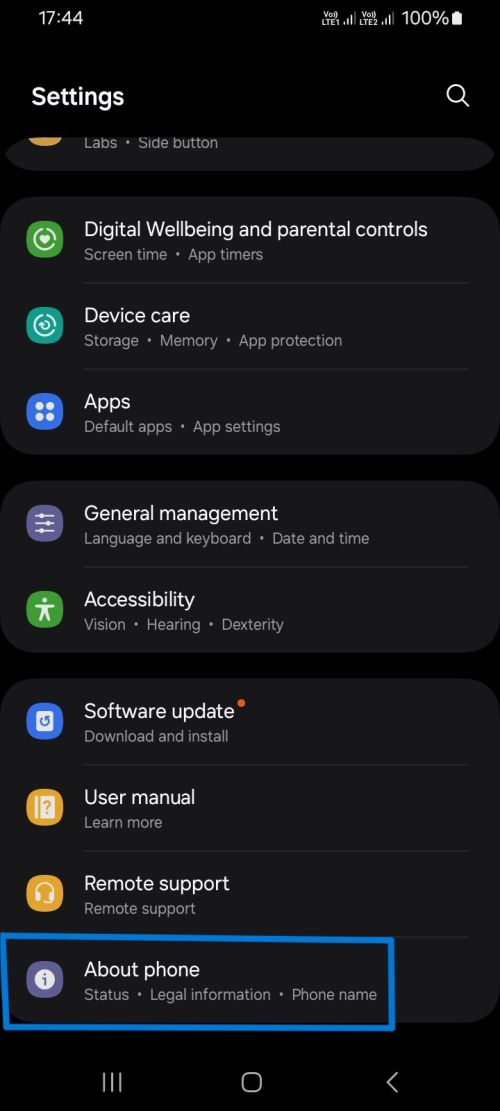
Follow these screenshots to enable "Developer Options & USB Debugging":
A. Go to "About Phone" section from settings of your Android device.
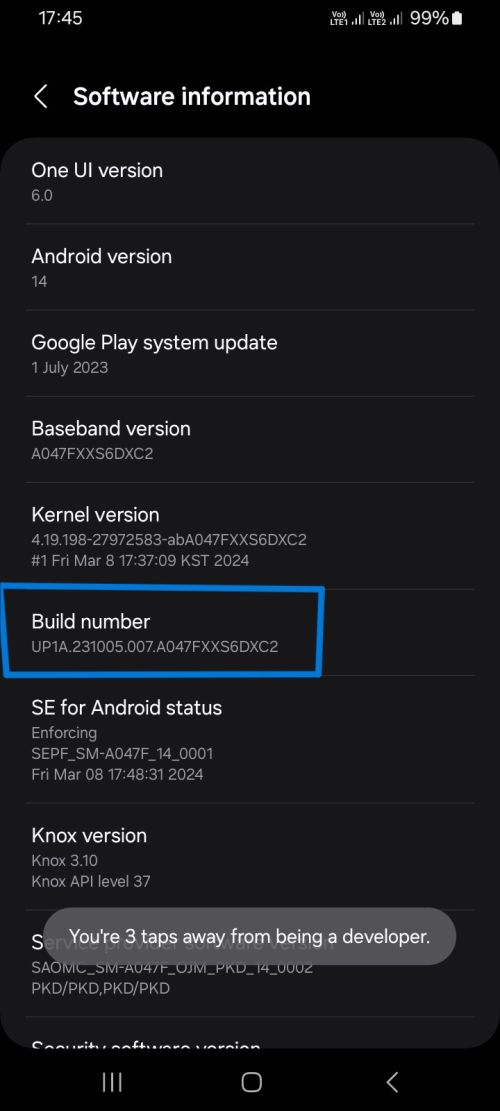
B. Go to "Software information" and tap on "Build number" option 7 times in a row (quickly).
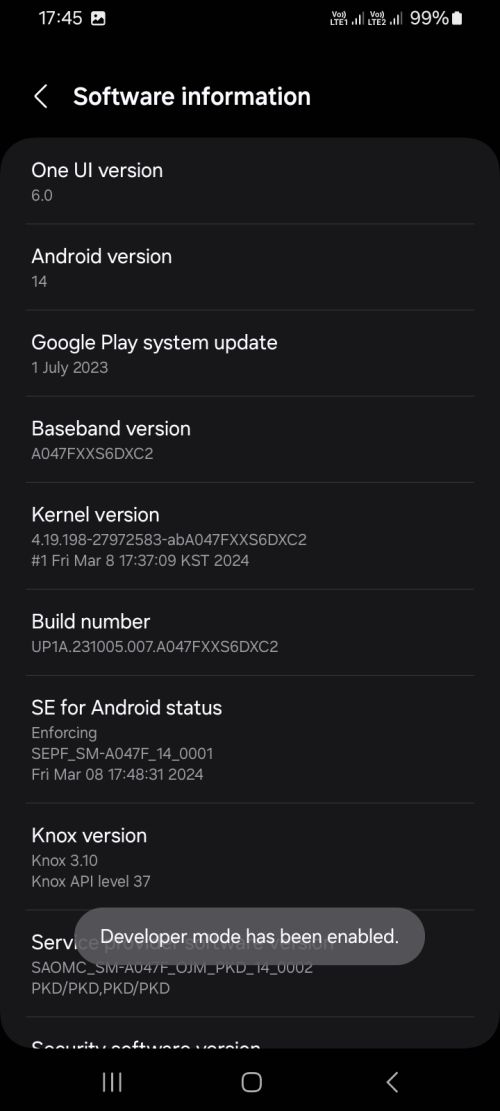
You will see a popup after "developer option" being enabled.
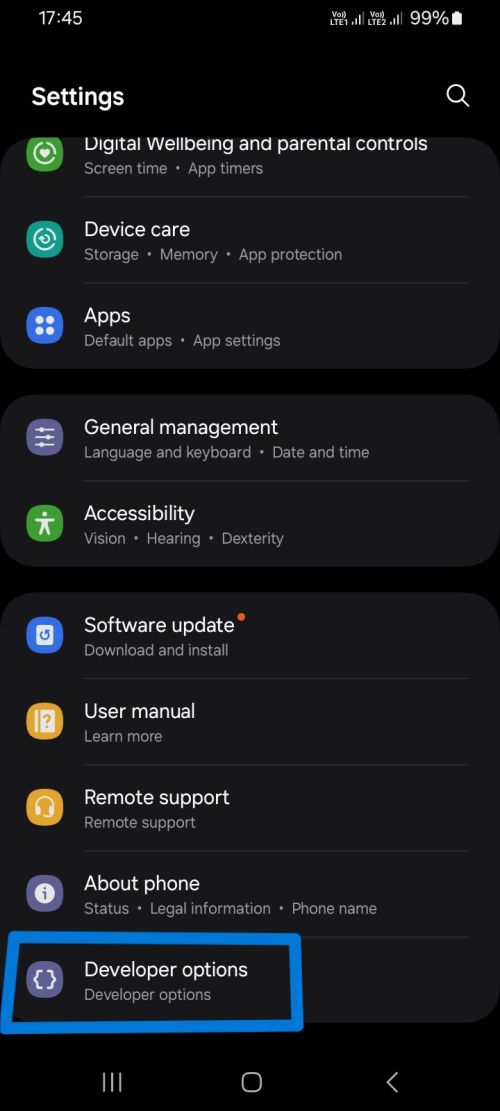
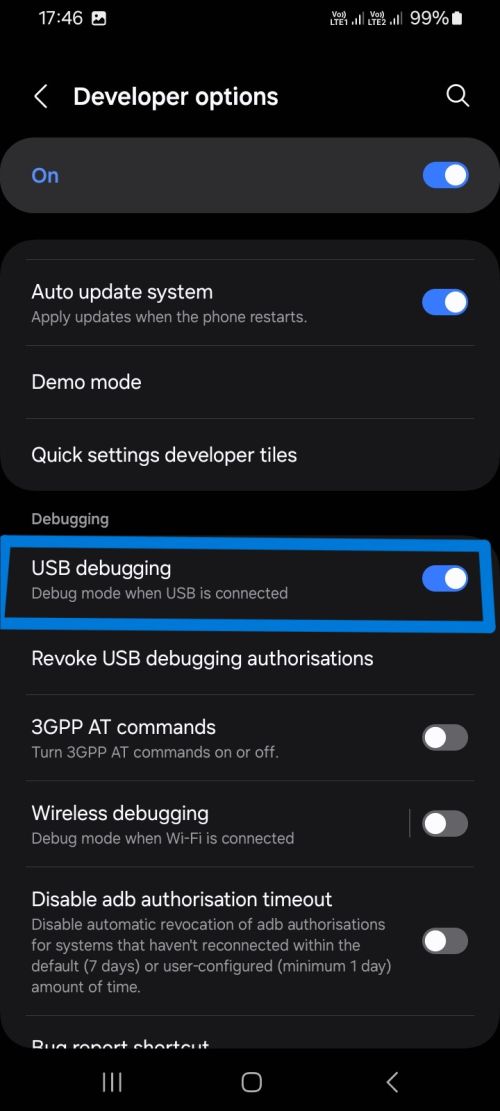
C. Go to "Developer Options".
D. Enable "USB Debugging".
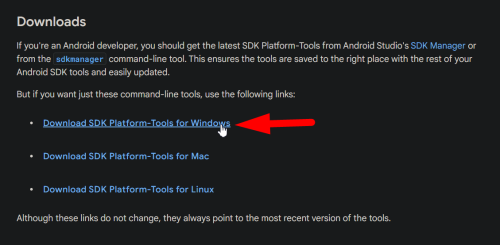
STEP 2: Install ADB Tools on Your Windows PC & Download Astrill APK for Android
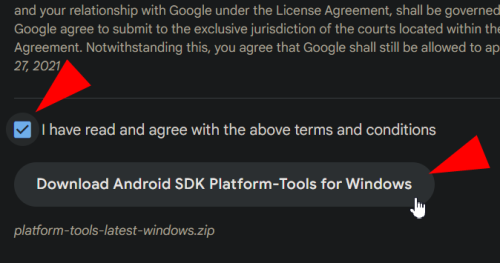
Open following link to download ADB tools: https://developer.android.com/tools/releases/platform-tools
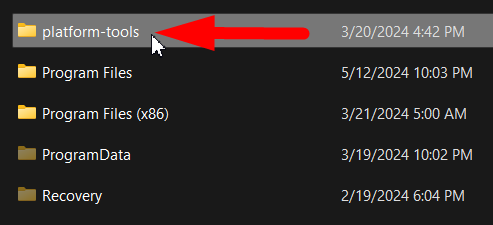
UNZIP downloaded file in any directory of your choice:
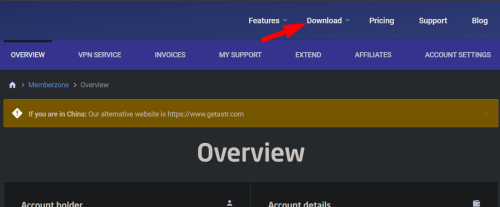
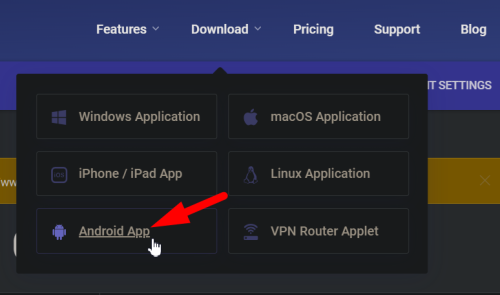
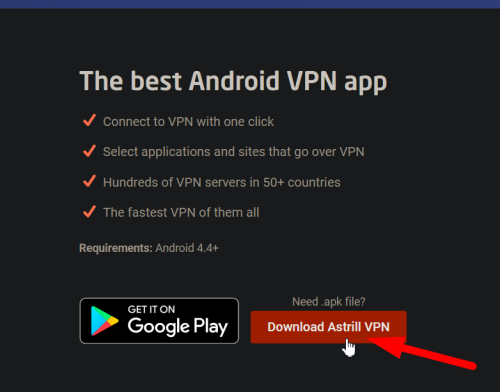
Now download Astrill APK from Astrill website:
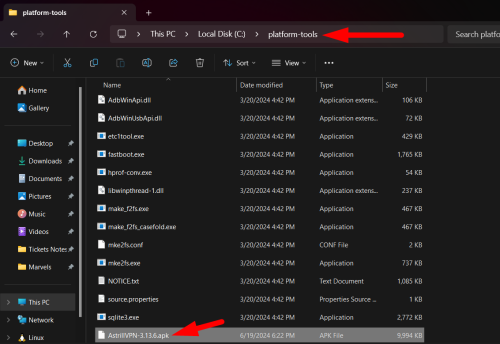
Now place downloaded Astrill APK into the "platform-tools" folder:
STEP 3: Connect to Your Android Device With Android ADB
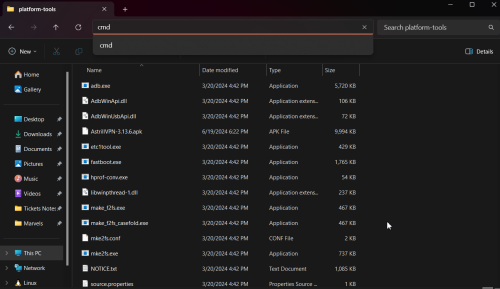
Connect your Android device to your Windows PC through USB cable. Then go to the "platform-tools" folder and press "ALT+D" from your keyboard or open "CMD" from that directory.
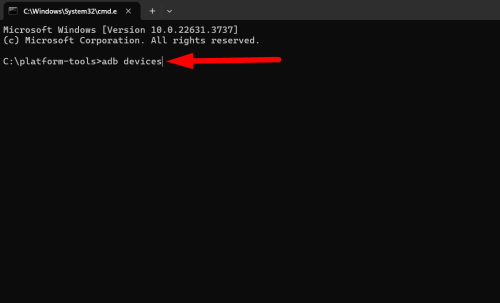
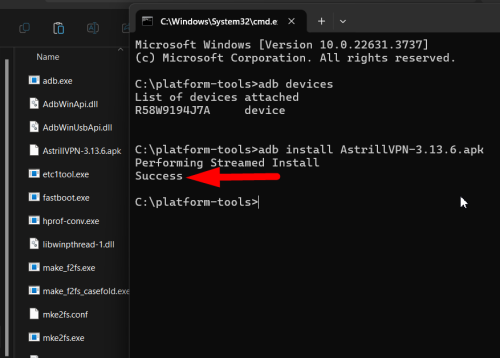
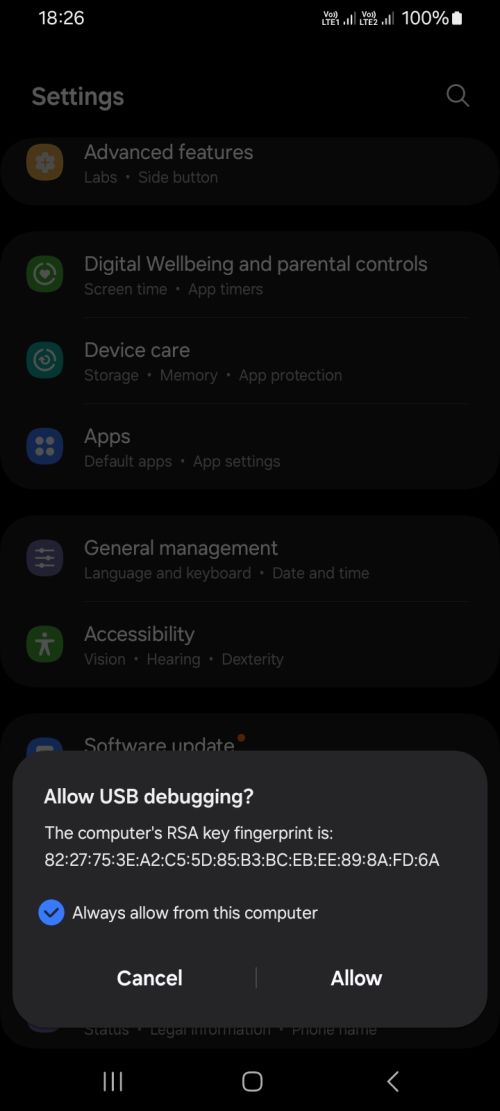
Run "adb devices" command to detect your connected Android device (keep your mobile unlocked).
You will then see a prompt on your mobile screen. You have to check "always allow from this computer" option and then tap on "Allow" button.
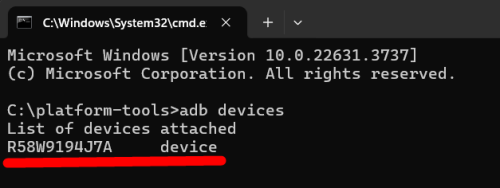
Then you'll see your mobile phone under "attached devices" in ADB.
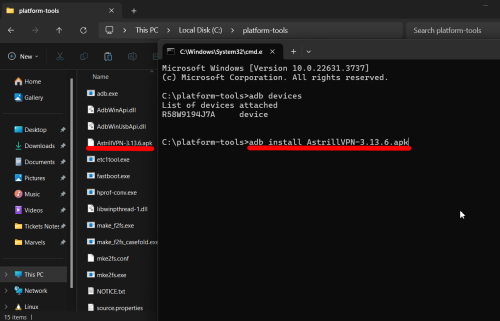
Now you have to run the installation command: adb install AstrillVPN-3.13.6.apk
You'll see this message upon successful installation of the APK.
Now check your mobile phone screen, you'll see Astrill app installed there.
